Let’s learn “how to curve text in Cricut Design Space” The Curve tool in Cricut Design Space lets you bend text into a curved shape, such as a circle or arc. It helps place text around existing shapes or designs, ensuring it fits within the desired area.
After curving text, you can adjust letter spacing, rotate, and change the font. The tool is simple to use, with a slider bar to control the degree of curvature. Curved text remains editable unless welded or flattened, allowing for adjustments after curving. The Curve tool provides creative flexibility in designing with text and shapes.
How to Curve Text in Cricut Software on a Computer?
To curve text in the Cricut Design Space software, simply use the Curve tool. It’s easy to create arched or circular text with this feature.
Step 1: Insert Text
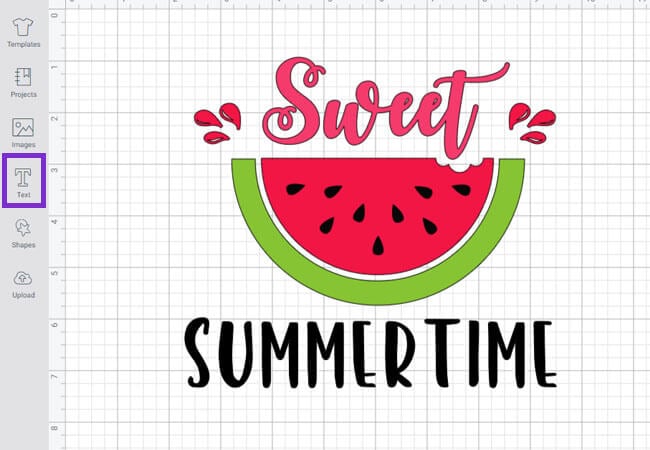
- Click the Text tool on the left-hand side of the menu and type your desired text into the text box.
- Place the text at your desired position.
Important Note: To curve multiple text areas, create each one in a separate text block for individual adjustments.
Step 2: Adjust Text
- Choose your desired font and font style for your project.
- If you haven’t picked out a font yet or don’t like the fonts in the Cricut library, you can upload your own, too.
- Resize your font if needed.

- Use the “Letter Space” tool in the toolbar to adjust letter spacing as needed. You can use this tool to make letters closer together or further apart.
- Use the up and down arrows or type in a value to increase or decrease the spacing between letters.
Step 3: Curve Text
- Select the text and click on the “Curve” tool.
- The Curve property will appear above the text with a handle.
- Drag the handle left or right to adjust the curvature.
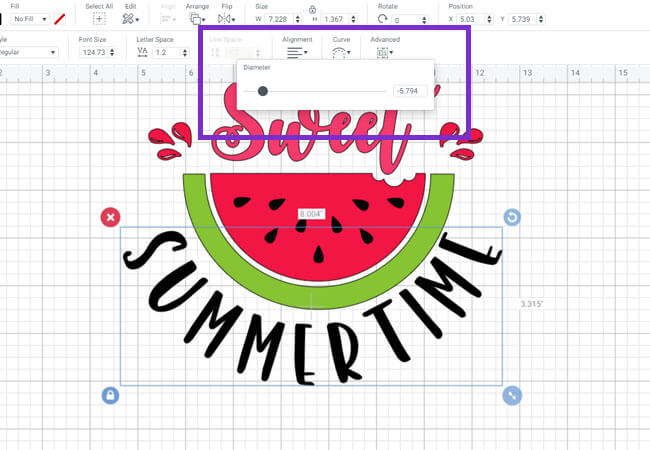
- Drag the slider right to curve text downward or left to curve it upward.
- Drag away the minus sign if you want it to go in the opposite direction.
Note: If you’re planning to curve multiple text lines to match, copy the diameter number and type it in for the next line instead of using the slider.
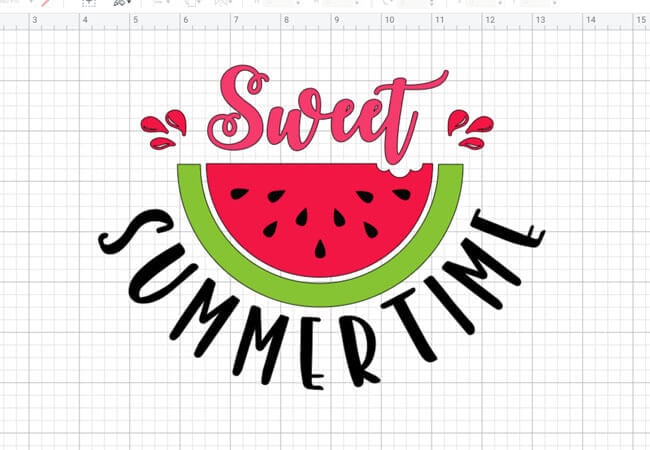
Step 4: Fine-Tune
- You can adjust the letter spacing and rotate the text as needed to achieve your desired look.
- Try different letter spacing settings to see what looks best for your project.
How to Curve Text in Cricut App on iOS?
If you use an iPad, phone, or tablet, you might wonder about the Curve tool feature, as it wasn’t available before. Thanks to Cricut updates, it’s now included. Let’s explore how to use the Curve tool in the Design Space app to bend your text.
Step 1: Open the Text Menu
- Go to the Text menu at the bottom of the Canvas.
- Type your desired text into the box.
Step 2: Edit Text
- Choose your font and font style.
- Use the Letter Spacing tool if you want to adjust the spacing of your text.
Step 3: Ungroup Lines
Ungroup text lines in the Cricut application to curve multiple lines individually. This ensures each line can be adjusted separately for the desired effect.
- Select your text and ensure all lines of text are highlighted.
- Go to More and then navigate to Advanced.
- Then, use the Ungroup to lines or letters function in the Actions’ Advanced menu.
- Now, each line of text is in its own text box, and you can select each one individually to use the Curve tool.
Note: To match the curvature of multiple lines, manually enter the same number in the Curve field to achieve the desired effect.
Step 4: Use the Curve Tool
- Go to the Edit menu and click on the Curve tool.
- Then, use the slider and number field to adjust the text’s curvature.
- Drag the slider towards the right to curve the text downwards and to the left to curve the text upwards.
- As you move the slider, the number in the Curve field will change. The number reflects the curvature of the text, which is determined by an imaginary circle. The further the slider is moved to the right, the smaller the circle’s radius and the more curved the text will be.
Key Considerations While Using the Curve Tool
Keep these points in mind when using the Curve tool: it’s for text only, requires separate text boxes for multiple lines, and edits are possible unless welded.
- The Curve tool is specifically designed for text, not images.
- Curved text can be edited, including letter spacing, rotation, font changes, and the text itself, unless it’s welded or flattened.
- The Curve tool won’t work on multiple lines within the same text box. You’ll need to use separate text boxes or the “Ungroup to Lines” tool.
- You can adjust the curvature’s direction by adding or removing a negative sign in front of the number in the curve setting. You can also fine-tune the amount of curvature.
- The curvature effect can interact with certain font effects, so you may need to adjust your font choice or manually curve certain letters for optimal results.
- On Android devices, you can view curved text, but editing it may remove the curve.
- Welded or flattened text becomes a single shape, making it permanently curved and no longer editable.
Frequently Asked Questions (FAQs)
How Can I Warp Text in Design Space?
Follow the instructions given below to warp text:
- Type your text on the Cricut Design Space canvas and adjust font, letter spacing, and line spacing as desired.
- Select the text you want to warp.
- Locate and click the “Warp” option in the Cricut Design Space toolbar under the Actions menu.
- Click on any of the warp-style icons to preview the effect on your text.
- Use the manual slider to fine-tune the wrap effect to your liking.
- You can select “Undo Warp” to revert to the original, unwarped text.
How to Flip Text in Cricut Design Space?
Check out the steps given below to flip your text in Design Space:
- Select the text you want to flip on the Cricut Design Space canvas.
- Look for the “Flip” option in the Edit toolbar or the panel on the right side of the screen.
- After that, select “Flip Horizontal” to mirror the text horizontally.
- If you need to flip the text vertically, choose “Flip Vertical” instead.
How Do I Make Curved Lines in Design Space?
To make a curved line, follow the steps listed below:
- Type your text in a text box. Select the text and click on the “Curve” tool in the Layers panel.
- Use the slider to adjust the curve and adjust the space if necessary.
- Now, go to the shapes panel, select the line tool, and draw a straight line.
- Select the line and use the Curve tool to adjust the curve.
- Fine-tune the curve as needed.
- Go to the text tool and press the Squiggly key.
- Extend or modify the line as needed.